
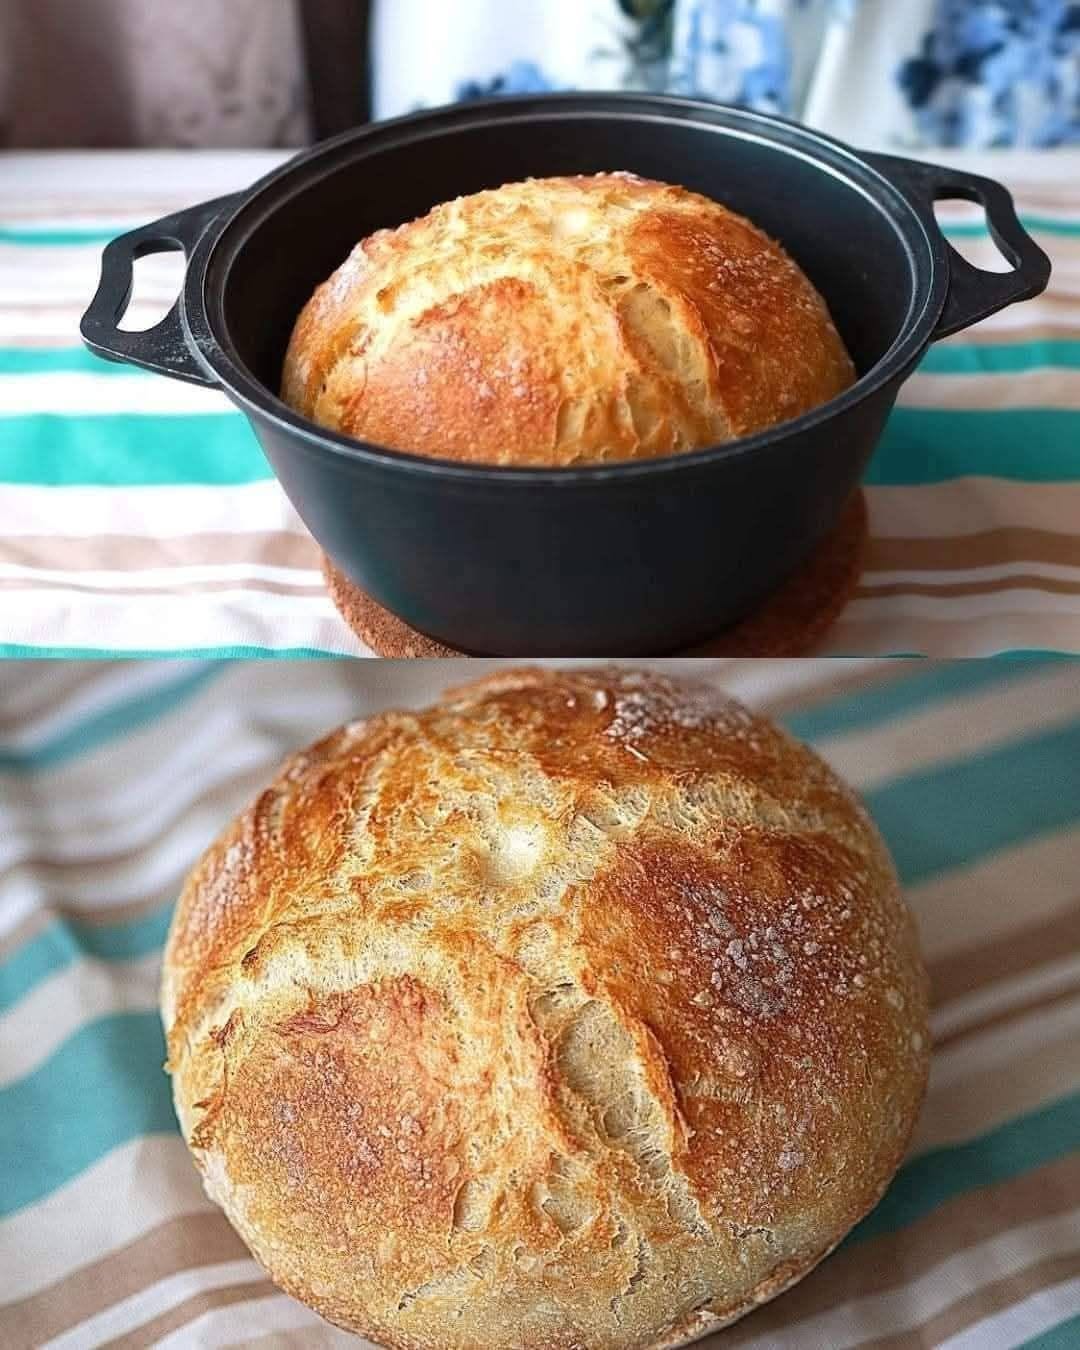
There is nothing quite like the smell of freshly baked bread filling the kitchen. This traditional homemade bread recipe uses just a few simple ingredients to create a loaf with a light, airy interior and a beautiful golden crust.
Whether you are a beginner or an experienced baker, this recipe is simple enough to follow and versatile enough for everyday meals. Enjoy it warm with butter, use it for sandwiches and toast, or simply tear off a fresh slice and enjoy.
Why You’ll Love This Homemade Bread
- Simple ingredients
- Beginner-friendly recipe
- Light and fluffy inside
- Golden, crisp crust
- Perfect for sandwiches and toast
- Easy to customize with seeds or herbs
- Freezer-friendly
Ingredients
- 1½ cups (370 ml) lukewarm water
- 10 g (about 2 tablespoons) active dry yeast
- 4 cups (500 g) all-purpose flour
- 1 teaspoon salt
Preparation Time
- Active preparation: 20 minutes
- First rise: 1–2 hours
- Second rise: 30–45 minutes
- Baking: 25–30 minutes
- Total time: Approximately 3–4 hours
Step-by-Step Instructions
1. Activate the Yeast
Pour the lukewarm water into a large mixing bowl and add the active dry yeast.
Stir gently and let the mixture stand for about 5–10 minutes, until the yeast dissolves and begins to look foamy.
Tip: The water should be lukewarm rather than very hot. Water that is too hot can damage the yeast.
2. Make the Dough
Add the flour and salt to the yeast mixture.
Mix with a wooden spoon or your hands until the ingredients come together and a rough dough forms.
3. Knead the Dough
Transfer the dough to a lightly floured work surface.
Knead for approximately 8–10 minutes, until the dough becomes smooth, soft, and elastic.
If the dough feels excessively sticky, add a small amount of flour, about one tablespoon at a time. Avoid adding too much flour, as this can make the finished bread dense.
4. Let the Dough Rise
Place the dough in a lightly oiled bowl.
Cover it with a clean, slightly damp kitchen towel and place it somewhere warm.
Allow the dough to rise for approximately 1–2 hours, or until it has roughly doubled in size.
The exact rising time can vary depending on the temperature of your kitchen.
5. Shape the Loaf
Once the dough has risen, gently press it down to release excess air.
Shape it into a loaf or your preferred bread shape.
Place it on a parchment-lined baking sheet or inside a lightly greased loaf pan.
6. Let It Rise Again
Cover the shaped dough with a clean kitchen towel.
Allow it to rise again for approximately 30–45 minutes, until it looks noticeably puffy.
7. Bake the Bread
Preheat your oven to 400°F (200°C).
Place the bread in the oven and bake for approximately 25–30 minutes, or until the crust is golden brown and the loaf sounds hollow when tapped on the bottom.
Because ovens vary, keep an eye on the bread toward the end of the baking time.
8. Cool Before Slicing
Remove the bread from the oven and transfer it to a wire rack.
Allow it to cool before slicing. This gives the interior time to finish setting and makes it easier to achieve clean slices.
Enjoy it warm or at room temperature.
Helpful Tips for Better Homemade Bread
For a Softer Crust
Brush the top of the freshly baked bread with a little melted butter. You can also loosely cover the warm loaf with a clean kitchen towel.
Add Extra Flavor
For a different variation, try adding:
- Sesame seeds
- Sunflower seeds
- Flax seeds
- Chopped herbs
- Rosemary
- Dried oregano
- Garlic
Add these ingredients while mixing or kneading the dough.
Don’t Add Too Much Flour
A slightly soft dough usually produces a lighter loaf. If the dough is sticky, add flour gradually rather than adding a large amount at once.
Frequently Asked Questions
Can I use instant yeast?
Yes. Instant yeast can be mixed directly with the flour and other dry ingredients without activating it separately.
How do I know if my yeast is still active?
Mix the yeast with lukewarm water and a small amount of sugar. After about 5–10 minutes, active yeast should begin producing bubbles or foam.
If there is no activity, the yeast may no longer be effective.
Can I make this bread gluten-free?
Yes, but you will need a gluten-free flour blend specifically formulated for bread baking. Gluten-free dough behaves differently and may require adjustments to hydration and rising time.
What if my dough is too wet?
Add flour gradually, one tablespoon at a time, while kneading until the dough becomes soft and elastic.
Why did my bread turn out dense?
Dense bread can result from insufficient kneading, inadequate rising time, inactive yeast, or adding too much flour.
Make sure the dough has enough time to rise and that the yeast is active before baking.
Can I prepare the dough in advance?
Yes. After the first rise, the dough can be covered and refrigerated. Allow it to come closer to room temperature and become active again before shaping and completing the second rise.
How should I store homemade bread?
Store the cooled bread in a bread box or airtight bag at room temperature and enjoy it within about 3 days for the best quality.
For longer storage, wrap it well and freeze it for up to 3 months.
Can I use a bread machine?
Yes. A bread machine can be used for mixing, kneading, rising, and baking, but always follow the ingredient order and instructions recommended for your specific machine.
Final Thoughts
Making homemade bread doesn’t have to be complicated. With flour, yeast, water, and salt, you can create a beautiful loaf with a soft, airy center and a delicious golden crust.
Once you master this basic recipe, you can experiment with different shapes, seeds, herbs, and other flavors to make it your own.
Freshly baked bread, simple ingredients, and a little patience—that’s all you need for a delicious homemade loaf. 🍞✨
